Netgear AC750 router is the first choice of netizens with its advanced technology and powerful capability to connect 3-4 devices at the same time. Netgear AC750 router is used all over the world by internet lovers. But at times, some users face issues during Netgear AC750 setup.
If you also have a question in mind that how to set up Netgear AC750 router, then you’ve jumped at the right post. All you need to do is follow the easy-to-execute steps listed below and get the Netgear AC750 setup process done in a fly. Let’s take the plunge!
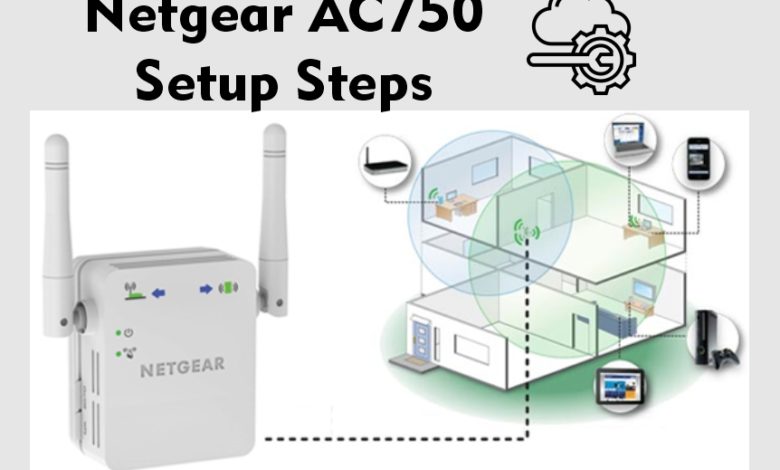
Steps for Netgear AC750 router Setup
Step 1: Plug in your Netgear router. Ensure that the wall socket isn’t damaged, loose, or fluctuated.
Step 2: Let the power LED on your router become solid green. If the LED is blinking continuously, do not proceed. Wait till it gets stable.
Step 3: Connect your existing modem to the AC750 wirelessly or using a well-maintained Ethernet cable. Ensure that both the devices are placed in close proximity and at the center-most location in your home.
Step 4: Launch any web browser of your choice on your laptop or computer.
Step 5: Once done, enter 192.168.1.1 into the browser’s URL bar. To avoid login issues, it is strictly recommended – do not enter the 192.168.1.1 IP address into the search bar of the internet browser.
Step 6: Press the Enter key. Doing so will redirect you to the Netgear AC750 login page.
Step 7: Now, enter the default Netgear AC750 router login credentials into the given fields.
Step 8: Hit on Log In or OK and follow the on-screen instructions to finish the Netgear AC750 router setup process with ease.
That’s it! You can now connect your wired and wireless devices to your Netgear AC750 router and start enjoying the internet in every corner of your house without any hassle.
Anticipating that you would now be able to set up your Netgear AC750 router easily. In the event that you are facing issues while configuring your Netgear router, ensure the following points.
- First and foremost, ensure that you are following the correct Netgear AC750 setup steps.
- Your Netgear router and modem must not be placed too closer as their WiFi signals can clash and might give you issues while setting up the AC750 device.
- Make sure that the firmware of your Netgear device is up-to-date. If not, navigate to Netgear Genie setup wizard using www.routerlogin.net web address, follow the on-screen instructions, and update the AC750 to the latest version.
- Provide a steady power supply to your Netgear AC750 router. Do not place the device behind curtains, windows, or doors. Also, ensure to place it openly on a higher shelf but not too closer to roof.
- Make sure that you are on an active and upgraded internet plan. You can contact your ISP regarding the same.
- Do not place your modem in a congested and non-ventilated area.
- Make sure that you have the correct router login credentials to access the Netgear Genie setup wizard.
Still the same? Power Cycle your Netgear router. To initiate the process, do the following:
- First things first, disconnect all the connected devices from your Netgear AC750 router.
- Turn the Netgear router off.
- Wait for a couple of minutes.
- Turn the Netgear router back on.
- Let the LEDs on your AC750 become stable.
The Bottom Line
Following the aforementioned steps in the exact order will help you configure your router and take your experience with the Netgear AC750 to the next level. Moreover, if you need assistance while performing the Netgear AC750 setup process or updating its firmware, feel free to drop us a line into the comments section.