A statement is a summary of all your customers’ accounts. It consists of all recent invoices, payments received, and credit memos. These statements can be created and sent to the customers to give them a reminder about how much they still owe you.
In short, when your customer has outstanding balances or invoices that will become overdue no sooner, you can send them a bank statement. These are detailed and gentle reminders about the upcoming deadlines. Statements are easy to create, understandable, and come in handy while resolving payment disputes.
Also Read:
Importance of creating a statement:
The overdue funds can make you sink into the business. But, getting hold of those overdue funds will help you to stay afloat in the business. Moreover, nowadays the knowledgeable customers keep on questioning about their payment history.
For instance, you have a customer who used to maintain regularity while making payments. But, nowadays, he is making delay in payments or missing them. To catch him, you need to create a statement. Often, customers think that they paid you more than the amount she owns. To straighten this matter, you must have a statement in hand.
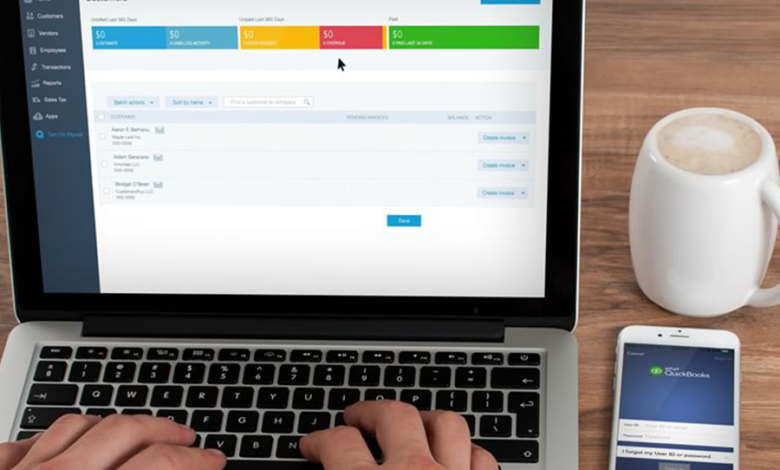
QuickBooks Services allow you to create a statement so that you can get an overview of every transaction that occurred between you and your customers.
For the Windows users:
The Windows user must follow these steps to create a statement:
Step 1- In QuickBooks, first go to “Customers” section and click on “Create Statements.”
Step 2- It is to note down that QuickBooks shows the A/R Account portion only when the user’s “Chart of Accounts” has more than a single A/R. So, the appropriate A/R account needs to be chosen.
Step 3- Now, the statement date needs to be checked carefully.
Step 4- Then, select the transactions’ date. You may include all unpaid transactions as of the date of the statement or specify the dates.
Step 5- Look and carefully select the customers for whom you want to print statements. Then choose added options.
Step 6-Now, finally, select “email” or “Print” depending on how the user wants to send the billing statements for their customers.
For the macOS users:
A macOS user must follow the given below steps to create a statement:
Step 1-Enter “Customers” section in QuickBooks file and then select “Create Statement.”
Step 2- Now, he or she needs to select the correct A/R account for the statement. Then, the “Statement of Dates” needs to be set up carefully.
Step 3- The user may select the template for the statement if he or she wishes. But, if the user wants to customize the template, he or she needs to click on “New Template” and open “Layout Designer.”
Step 4- After completion of all these, the users need to revisit the “Customers” section and select the customers for whom he or she will be printing the statements. Additional options need to be chosen.
Step 5- Lastly, based on how the user wants to send the statements to his or her customers, he or she needs to select “email” or “Print.”
Also Read:
If the email button doesn’t work – What to do?
While creating a statement, one may find that the email button is not working. There is nothing to worry about, as it is a no error message, which means that the email is not sent. The quick fixtures are as follows.
Step 1- Make sure that all the preferences are correctly selected for statement generation. It means that the appropriate customers need to be selected. The customers must have a sales receipt or invoice before the statement date or within the statement period. And if the customer has a zero balance. Go to “Do Not Create Statements,” and make sure the box for “with a zero balance” is unchecked.
Step 2- For the Template, click the “Intuit Standard Statement.”
Step 3- If you find the “Create One Statement” blank, from the drop-down, choose “Per Job or Per Customer.”
Step 4- Then, make sure that the customer has a working email set up and all the email preferences are properly chosen. Click on the “Edit” tab, then select “Preferences.” Now, click on “Send Forms.” Check whether the email address set up is properly working, click on “OK.”
Step 5- Still, if emails fail, it may be because of an overflow error. Check on the box “with a balance less than” and change the input to 0.00. Then, resend the mail.
Limitations of statements:
There exist some restrictions on QuickBooks Statements that cannot be ignored. For example, if you have several related charges for which you want to create a subtotal, you will need an invoice.
The statements cannot include percentage discounts, sales tax, or payment items. The services or products that can take more than a paragraph cannot be in the statement. In the statement form, you cannot add custom fields, and nor you are allowed to include a message to your customers in the statement.
Conclusion:
The timely payment of invoices is responsible for the company’s cash flow. Creating and sending the statements is the only way to convince your customers to get a hold of their past due accounts. Creating a statement is no longer optional; if you want to succeed, it is a must-to-do job.